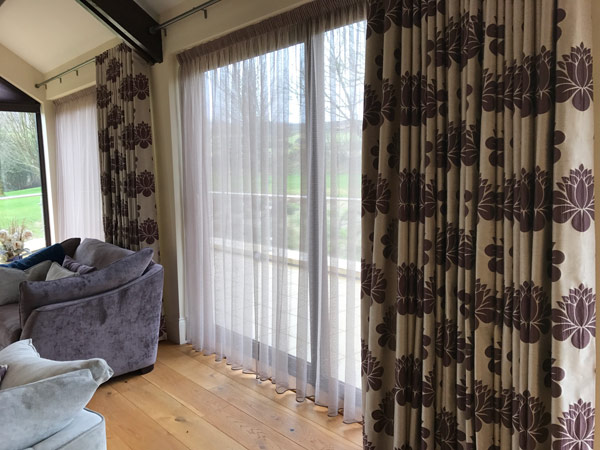
Curtains play a huge part in your home’s design, completing the overall appearance of the interior of the house and highlighting your room’s unique style. They are practical too, as they can insulate by keeping the sun and light out or the heat in, whilst absorbing sound. But first, you need to know how to install curtains in the correct way to get the best results.
Step-by-Step Guide to Installing Curtains
If you want to install curtains on your own, we’ve created this step-by-step curtain installation guide just for you.
Preparing for Installation:
Before you begin, you’ll need to consider if the curtain pole or track is suitable for your choice of curtain heading? Will the fixing be secure enough to support your curtain’s weight? Is it wide enough to open the curtains to your desired place?
Once you’ve chosen the right curtain pole / track for the job, it’s time to gather your tools and materials to make the change. You’ll need a step ladder, pencil, measuring tape, drill and the right screws for your pole / track.
Installing Curtain Pole / Track:
Now you’ll need to determine its height by placing it above the window and making sure it’s at the right height so that your curtains will drop below the windowsill or if floor length the curtains sit slightly off the floor. Does it need trimming to fit the desired width to allow the curtains to stack back off the window? If it comes in two pieces remember to trim both evenly so that the centre sits in the middle of the window.
Mark the drill holes with your pencil and measure the same height on either side of the window – you don’t want it to be uneven.
Then create drill holes where your brackets should be and screw in the brackets evenly.
Finally, mount the pole / track into the brackets and secure it in place with the additional screws / leverlocks.

Preparing and Hanging the Curtains
Preparation depends on your heading choice;
The very first thing to do with pencil pleat heading is to tie the cords together at both ends of each curtain. Then check if the curtain has an even number of widths or one end has a half width (this is determined by the size of curtain you need). If it has a half width draw the curtain up from that side by tying another small knot in the cords and using the space between the two knots to hook onto something, a door knob will do. Measure the pole / track and half it, this is how wide each curtain needs to be and draw (slide) the curtain along the heading tape in neat pleats to the desired width, then tie the cord.
Count how many rings or gliders are on the pole/ track and half them for each curtain (as a rule there should be 10 per metre) and using even spacing hook up the curtain heading tape and hang your curtain.
Pinch pleat curtains need pin hooks, these need to be inserted just down from the top of the curtain in the centre of the pleat. It is essential to have the right amount of pleats as no tolerance is given with this heading type to alter the width. These are not suitable for tracks as the fabric between pleats folds back under the pole.
Eyelet curtains slide straight onto your pole.
Wave heading needs specialised poles or tracks which have the gliders uniformly corded to allow the pleats to fall in even folds.
When using a pole the first ring should be between the finial and the bracket to stop the whole curtain drawing across your window.
Your curtains are now ready to show off to the world.
Beautiful Curtains for Your Home
At Talbot & Sons, we can help by doing all this for you and finish off your room in style with made-to-measure curtains that are completely unique to you. Hand-made by one of our talented seamstresses, ensuring you receive the best quality possible. With over 40 years’ experience and thousands of fabrics to choose from, we advise, measure, create and install curtains that you can be proud of. To give your windows a brand-new look, contact Talbot & Sons now.


